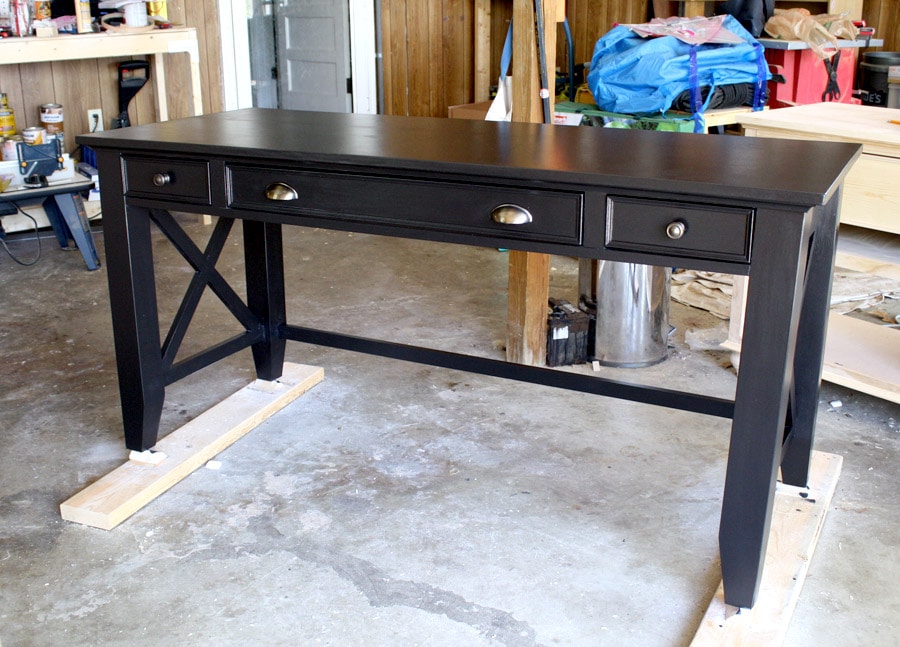
Remember this DIY Writing Desk I just built for my newlywed friends? As promised, I’m back to share the finishing tutorial with y’all!
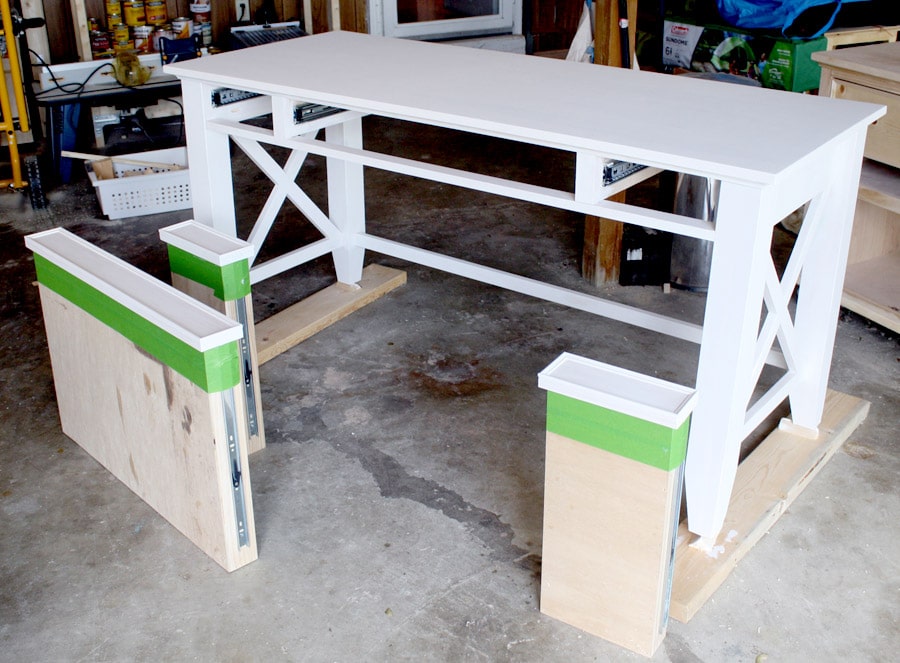
So here’s where we left off:
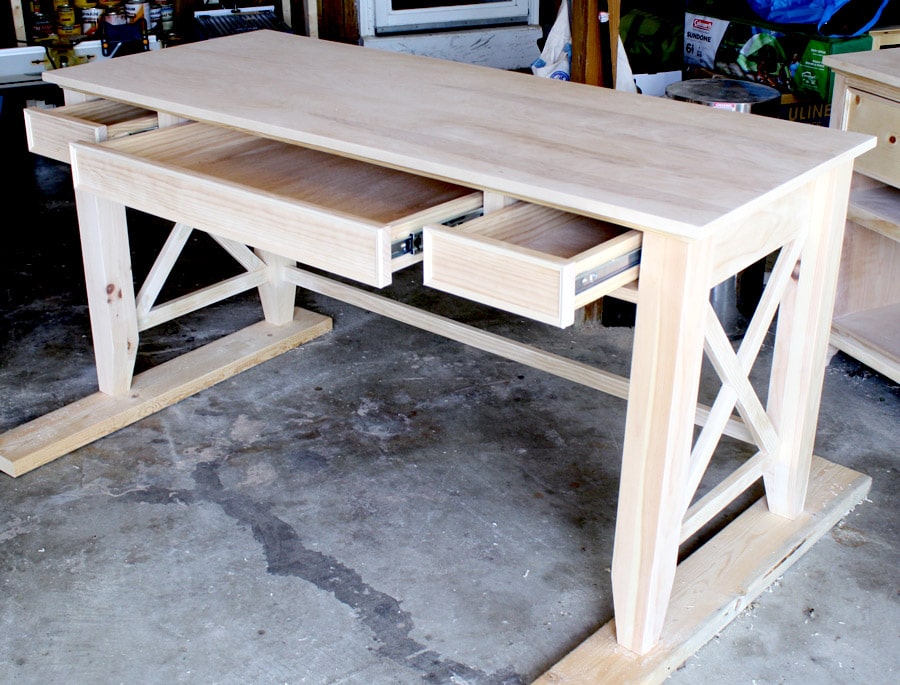
That’s raw solid pine and birch plywood.
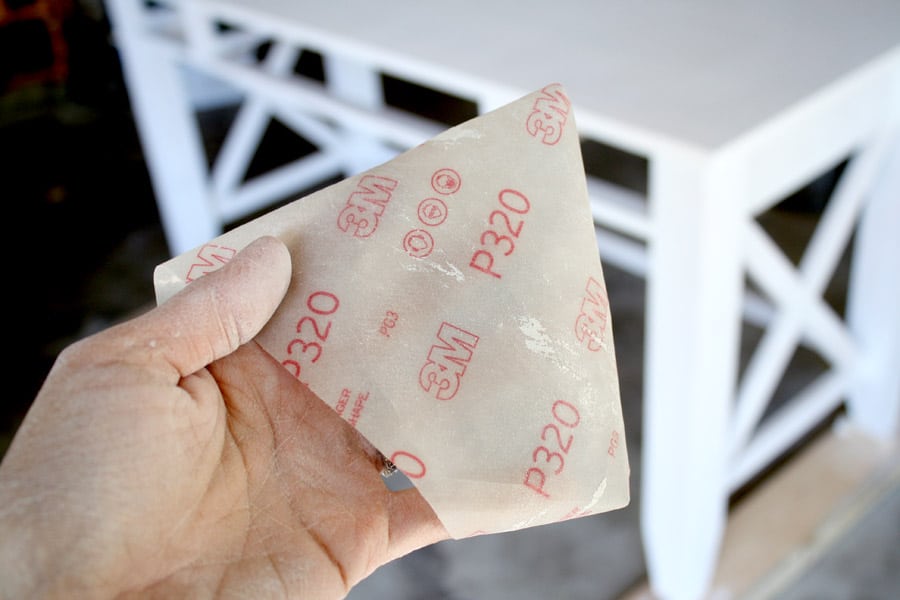
First, I sanded everything down starting with 120-grit sandpaper, following up with 220-grit, and finally with 320-grit. Have you seen this new product made by 3M? It’s flexible sandpaper sheets and it is ahhhmazing. It makes it super easy to wrap around curves. It was especially helpful when sanding the cove moulding and getting into the nooks and crannies of the cross pieces. I haven’t seen it in stores yet, but you can get it online.
*This post contains affiliate links. To read my full disclosure policy, click here.
After sanding everything down so that it’s baby’s bottom smooth, I vacuumed the dust and debris with a shop vac, then gave it a good once-over with a tack cloth to remove any remaining dust particles.
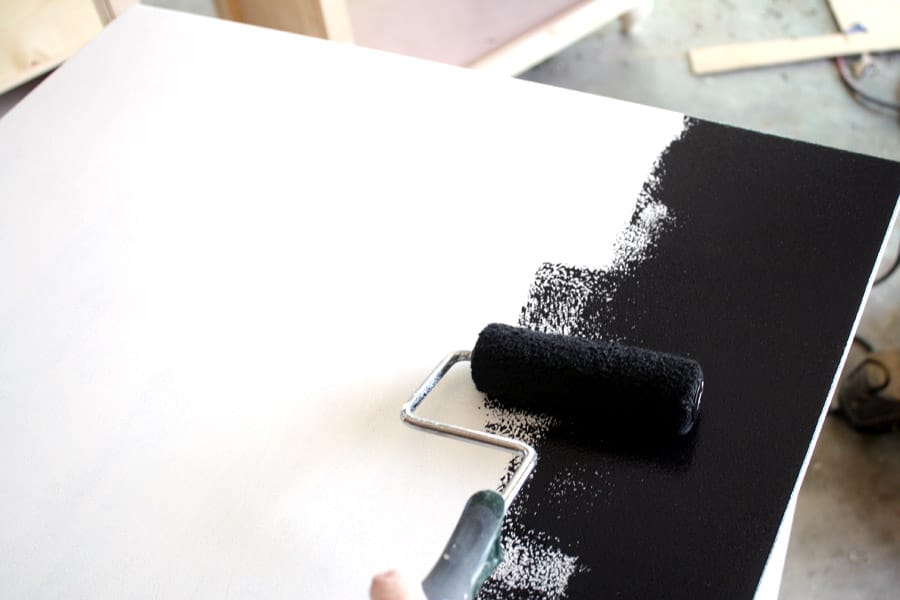
Next up: primer! I rolled on the primer with a small paint roller, then used a good quality brush to get into the hard-to-reach spots. I used Kilz oil-based primer. I would have had it tinted darker, since the desk would ultimately be black, but there was a long line at the paint counter and I didn’t want to wait and I had 2 little kiddos who were quickly reaching their expiration date (naptime).
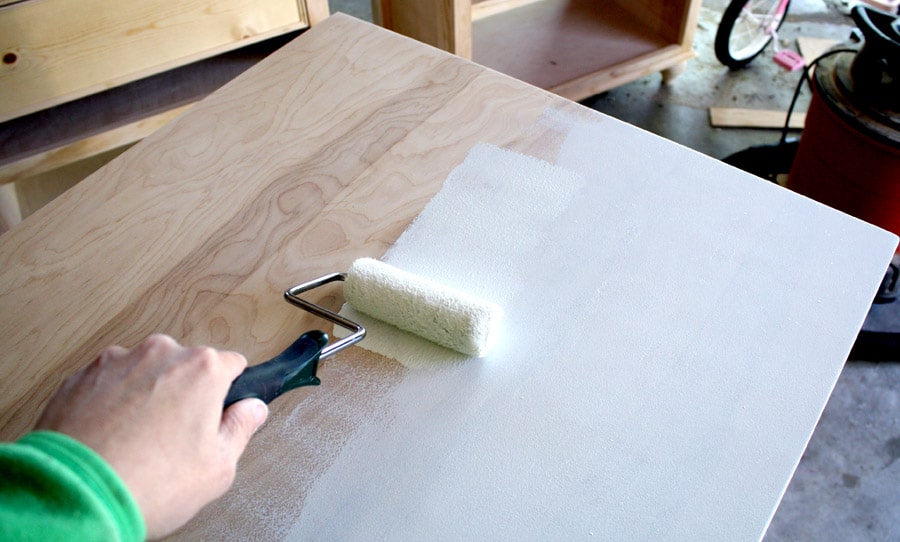
It’s wise to use primer when painting raw wood so that the paint goes on evenly. Without primer, the paint can go on splotchy and uneven. After working so hard building this desk, I was not going to mess it up now by cutting corners. Preparation is key.
After doing a bit of research, the general consensus is to skip the water-based primer and go with an oil-based primer. You can layer a latex paint over an oil-based primer.
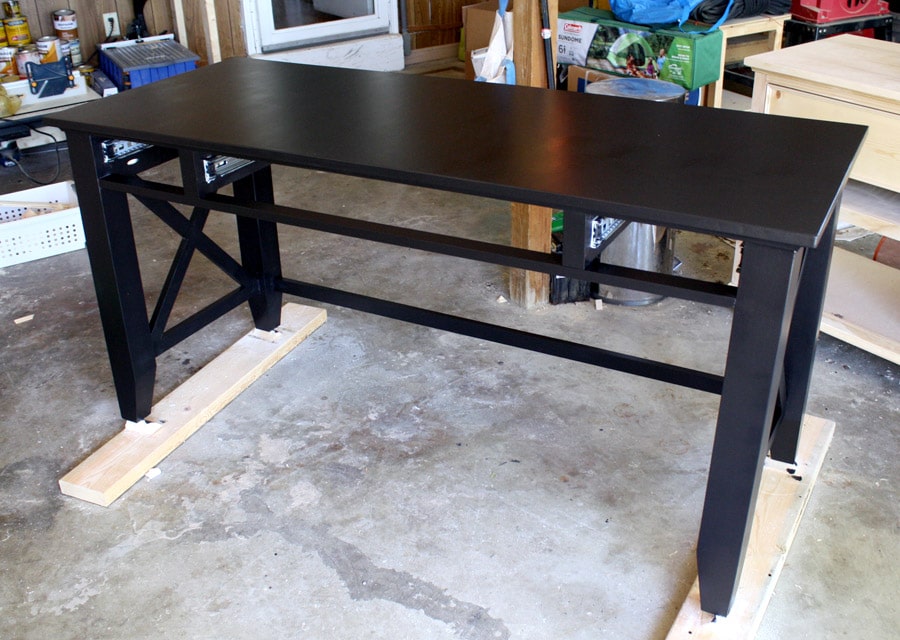
After the primer dried, I rolled on some black latex paint. I used a good brush to cut in the corners and hard-to-reach places and used a roller everywhere else. The roller achieved a super smooth and even finish and was much quicker than brushing the paint on. A paint sprayer would have made this task even faster, but I don’t have a sprayer so I went the roller route. If anyone can recommend a good paint sprayer, I’m in the market for one.
I applied two coats of an interior latex paint called “Blackout” by Behr.
And as I mentioned in my building post, my husband had to install the cup pulls because I had reached a point of diminishing returns.
And to add one last little personal touch, I left my mark on the inside of the middle drawer.
![]()
After the paint dried, I hand-sanded everything with a 400-grit sanding block just to smooth everything out and prepare it for the final finishing steps. I removed the dust and debris, then applied 3 coats of wipe-on polyurethane, sanding with 400-grit sandpaper in between each coat.
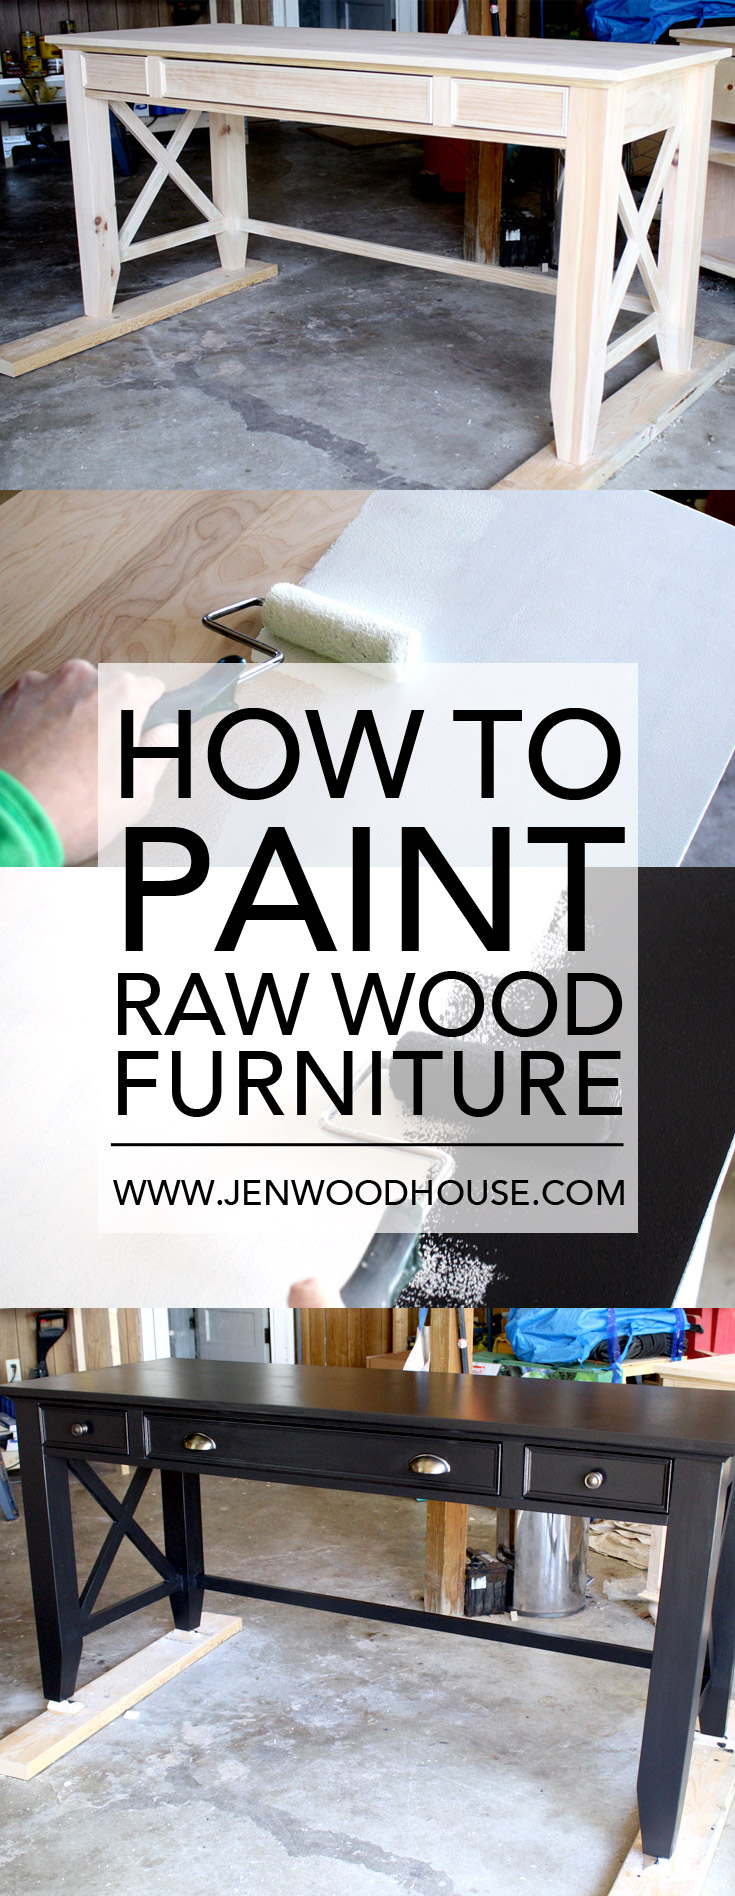
That’s it! Thanks for reading, friends! I’d love it if you pinned and shared this tutorial using the image below. Thank you and have a lovely weekend!
The post DIY Desk: Finishing Tutorial appeared first on The House of Wood.